1. Check Printer Connections:
Verify that all cables connecting the printer to your computer or network are securely plugged in. Ensure that the power cable is properly connected and that the printer is turned on. For wireless printers, confirm that they are connected to the correct Wi-Fi network and check the wireless settings on both the printer and your router.
2. Verify Printer Status:
Examine the printer’s display panel or software for any error messages or status alerts. Common issues might include low ink levels, paper jams, or connectivity problems. Address any warnings or issues indicated to resolve potential problems.
3. Restart the Printer:
Turn off the printer using the power button. Wait for about 30 seconds before turning it back on. This simple reset can often resolve minor glitches and restore normal functionality.
4. Update Drivers and Firmware:
Visit the manufacturer’s website and download the latest drivers and firmware updates for your printer model. Follow the installation instructions to ensure your printer has the most recent software, which can fix bugs and enhance performance.
5. Perform a Test Print:
Print a test page from your printer’s control panel or software. This helps determine if the issue persists and can provide insights into any remaining problems with print quality or alignment.
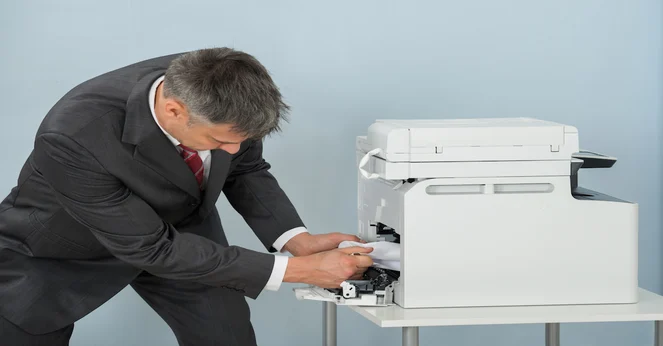
6. Check for Paper Jams:
Open the paper tray and check the printer’s interior for any paper jams or obstructions. Remove any jammed paper or foreign objects carefully, following the manufacturer’s instructions to avoid damaging the printer.
7. Reinstall Printer Software:
Uninstall the current printer software from your computer. Then, download and install the latest version from the manufacturer’s website. This can resolve conflicts or issues caused by outdated or corrupted software.
8. Consult the Manual or Support:
Refer to the printer’s user manual for specific troubleshooting steps tailored to your model. If the issue continues, contact customer support for additional assistance and expert guidance.
9. Secure Printer Access:
For networked printers, ensure your network is secure by using strong passwords and encryption. Configure any necessary security settings on the printer to prevent unauthorized access and protect your data.
10. Backup Settings:
Before making major changes or performing updates, back up your current printer settings. This will allow you to restore your settings if needed, ensuring that you don’t lose any customized configurations.

